In challenging manufacturing environments, 3 key factors influence the long-term performance of automated metrology systems installed in uncontrolled environments.
Creating a metrology solution that consistently meets demanding production rates, yields and uptime is not something that happens by accident. Building a solid foundation for conducting precision inline inspection for high volume production applications requires 3 factors: adjustability, calibration and environmental monitoring.
Safe Adjustability
- Tool safe locks for all instrumentation adjustments.
- Defined adjustability scheme for all metrology and part degrees of freedom in the tool.
- Defined adjustability range and sensitivity for all axis (with sensitivity at the minimum possible setting, typically in microns).
- Custom instrument kinematic mounts for repeatable removal and replacement when needed with compromising accuracy.
Custom Calibration Solutions
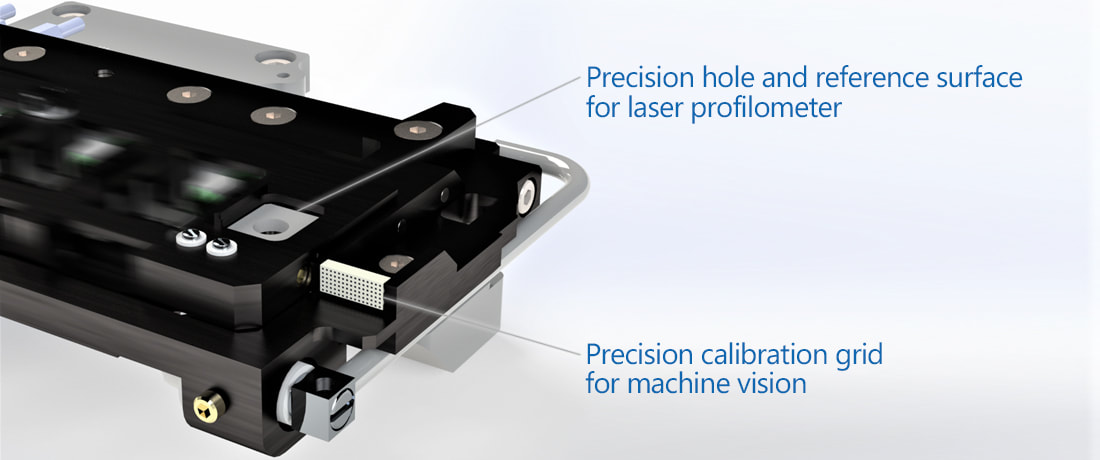
- Calibration grids for camera scaling, distortion mapping and focus.
- Precision ground step blocks for displacement or thickness measurement calibration.
- Precision cut gauge holes for profilometer calibration.
- 2-3 axis active alignment via crossed fiberoptic lasers for gantries and end of arm tools.
- Robot teach point fixtures permanently installed in the machine.

Active Environmental Monitoring
In traditional metrology, many measurements are performed in a quality lab under certain temperature, humidity and lighting conditions. However, the automated metrology process often eliminates the need for a dedicated quality lab. These robust systems can be used inline or nearline in uncontrolled manufacturing environments.
