Tightening dimensions are a trend both for components and for an increasing number of parts and devices. Incorrect part dimensional measurements can lead to failure and costly recalls.
Small consumer products pack an enormous amount of technology into tiny units. In smartphones and wearable devices, tolerances are tight, making overall dimensional control critical as more electronics are squeezed into small spaces.
While much of the focus is on the electronics, the same dimensional control applies to the mechanical aspects of a system — the boards, screws and fasteners, connectors, the housing, and the increasingly tight connections between user interface elements like buttons and the electronics they control.
On the other hand, parts with complex cosmetic features have critical dimensions that require greater precision and handling flexibility (such as a knee joint) — capabilities that are often not available in standard metrology and inspection systems. There’s a growing need for high speed inspection stations that can measure complex part geometries.
Due to these complexities, manufacturers are moving toward 100% automated dimensional inspection as an essential aspect of their advanced manufacturing processes. Metrology is now a critical process control driver, with measurement data guarding against process deviations and providing feedback to component suppliers to help maintain tight processes.
Complex Features, Complex Dimensions
The obvious critical dimension measurements are length, width and height. Planarity and the locations of ports, buttons and other components are also frequently the targets of measurement, and they can be straightforward to handle.

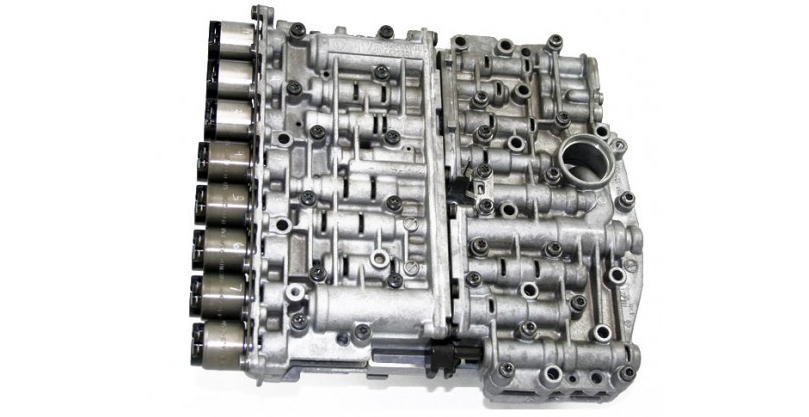
The complex shapes in an automotive valve body are challenging for tactile probes to measure.
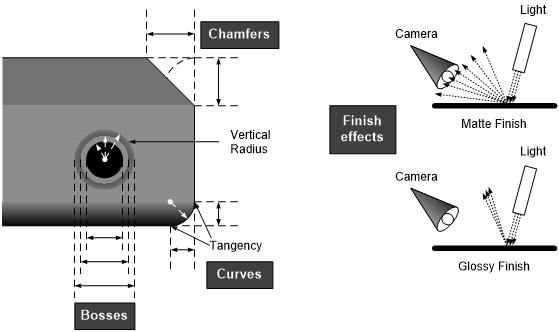
However, specialized non-contact solutions are often required for difficult measurements, such as curve radii, chamfer angles and dimensions, undercuts, connector pin dimensions, and size and curvature of bosses. For example, in the automotive industry, a valve body’s maze of channels and complex geometries can create measurement challenges for tactile probes, leading to long cycle times. In addition, color and finish can make easy measurements more challenging than what a standard solution can handle.
Even the complexity of surfaces can also pose additional challenges. For example, measurement of medical implants, such as a knee or hip joint, can be difficult when the surface is shiny, specular or burred. These implants also have organic shapes that will affect the design of fixturing and part handling capabilities for metrology.
Lighting, strobe timing, algorithms, and the position of cameras and lasers are critical elements needed for tough inspection scenarios, especially parts with different finishes and colors. When calibrated correctly for specific applications, these elements enable high speed non-contact inspection of complex parts.
By tailoring lighting, manufacturers can account for the angles of illumination as well as the strength and diffusion of light. Optimizing timing of strobes ensures that a strobe for one measurement doesn’t send stray light that might interfere with another strobe used for a different measurement.

Surface finishes can further complicate the measurement of complex geometries and profiles.
The geometry, surface reflectivity and contrast of the part also determine the position of cameras and lasers. Depending on the number of measurements, a single camera will be used several times as the unit passes by on the conveyor. In other cases, multiple cameras will be required.
Multiple measurements may be combined to compute a single parameter. For some difficult inspections, the measurement result may not be a simple number — a 3D point cloud may be needed to ensure that complex shapes conform to specifications.
When using continuous motion automated inspection stations, manufacturers don’t have to sacrifice precision and accuracy for speed. The result is a complete set of measurements — easy and difficult — for the lowest possible cost per part.
