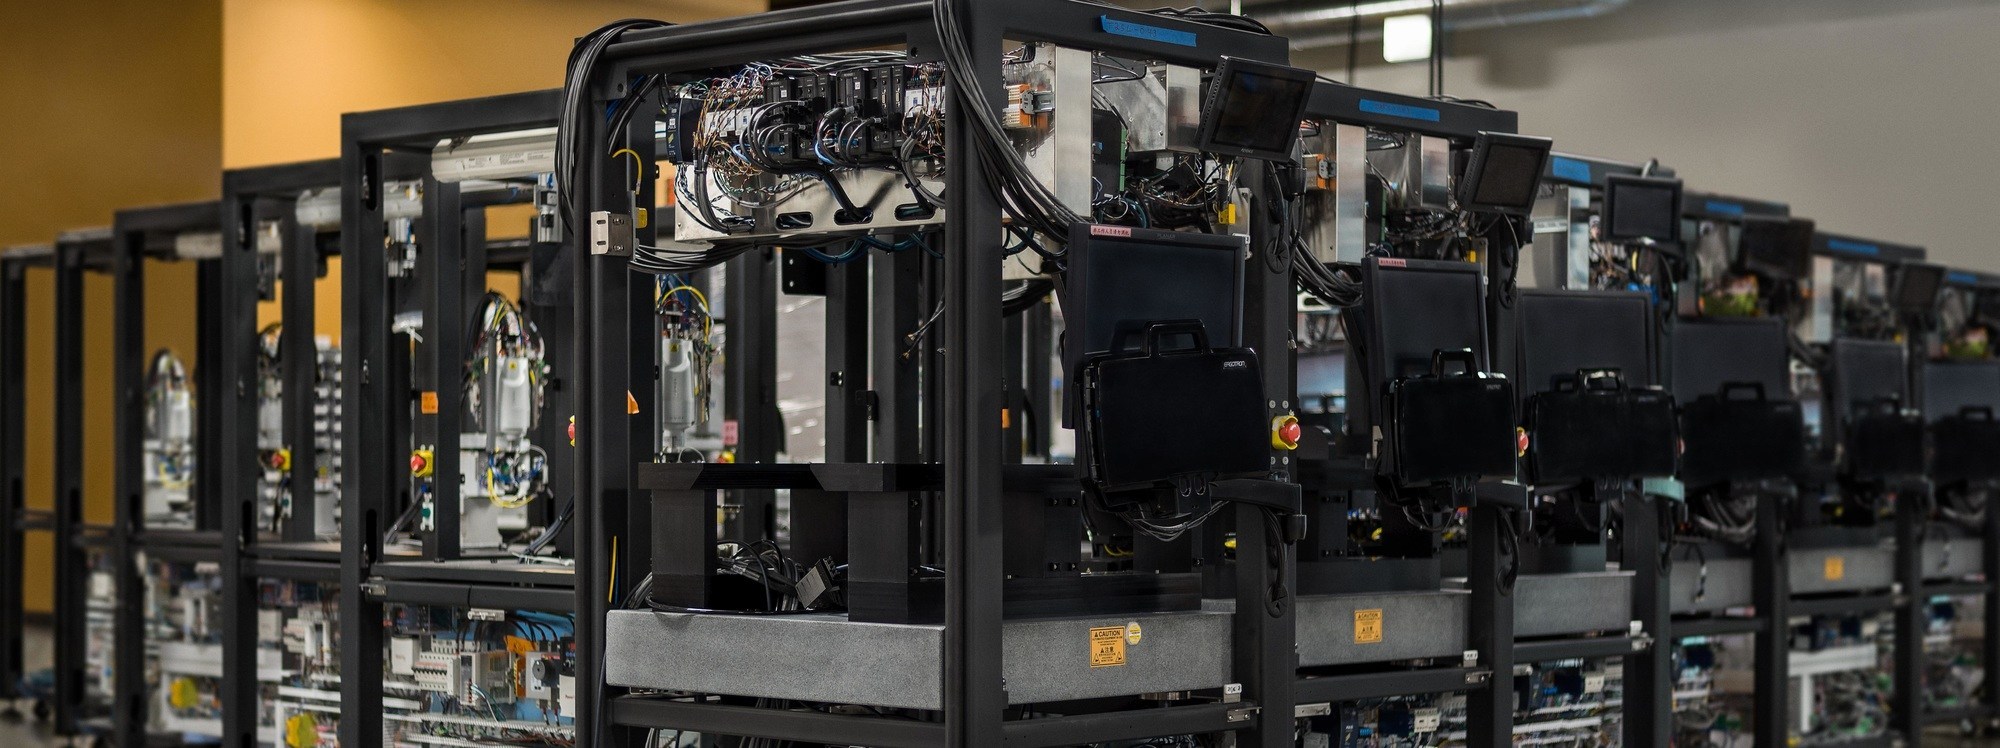
Automated metrology platforms not only ensure high quality finished goods, these high speed solutions also lower total cost per part by consolidating multiple metrology operations into one system.
High volume part manufacturers often have diverse process flows, and some companies may distribute metrology stations across the factory floor to perform specific measurements. However, this may result in increased part handling costs, delays and even damage. If inspections are done manually by a large operations staff, it can further increase measurement variability.
In addition, by using different metrology steps with multiple calibration procedures, resources and timeframes, manufacturers risk interrupting production while also increasing costs. By consolidating multiple metrology stations into one inspection system, manufacturers can reduce the manufacturing cycle time and lower total cost per part.
For example, a customer needed to perform 6 different dimensional and property measurements on their product, including hardness, compressibility, density, defect, thickness and weight. The manufacturer had multiple metrology stations spread across the factory floor with a large specially trained workforce performing manual 100% inspection of parts. With multiple workers handling the same parts to take different measurements, the company was at risk for operator error and part damage due to handling as well as increasing manufacturing cycle time and costs.
In considering an automated metrology system solution, the manufacturer’s main concerns were ensuring data integrity and repeatability of multiple metrology operations. The company also needed to scale up the metrology process and decrease time to market.
The manufacturer ultimately decided on a fully automated and integrated inspection and metrology line composed of 4 reconfigurable modular work cells for high volume 24/7 inspection. At the first robotic pick and place loading station, parts are measured for weight and hardness before moving on to station 2 for compressibility measurements. Moving along the conveyor to the third station, parts are measured for thickness and density, and a vision system checks for defects. At station 4, a final hardness measurement is performed before the unload robot picks the part for barcode printing. Then the robot sorts parts into the good or reject output cart.

Combining metrology operations into a modular system reduces manufacturing cycle time.
By consolidating 6 different metrology operations onto one system, the manufacturer benefited from increased data integrity per part and repeatability in measurements. By automating the inspection process and using fewer operators, the company had less material handling time and damage due to handling. The modular metrology line consolidated all inspection stations into one location on the factory floor, reducing station footprint and suppliers to manage, as well as increasing line uptime.
Overall, outgoing part quality improved, which reduced total part cost and the number of field failures with expensive warranty costs.
Decreasing Manual Inspections with Metrology Systems
While custom metrology line systems may work for some manufacturers, other companies may benefit from an automated metrology platform. The number of manual inspections decreases when manufacturers add automated metrology platforms for high volume demand.
When operating at high volume, our high-speed metrology systems can process up to 250,000 precision small parts per day per system. The total cost per part at these volumes is very low when compared to manual methods at multiple points in the process flow. For example, total part inspection cost may be reduced up to 25X over 5 years.
Automated metrology and 100% inspection ensure high quality finished goods, benefiting both the customer and the manufacturer.
