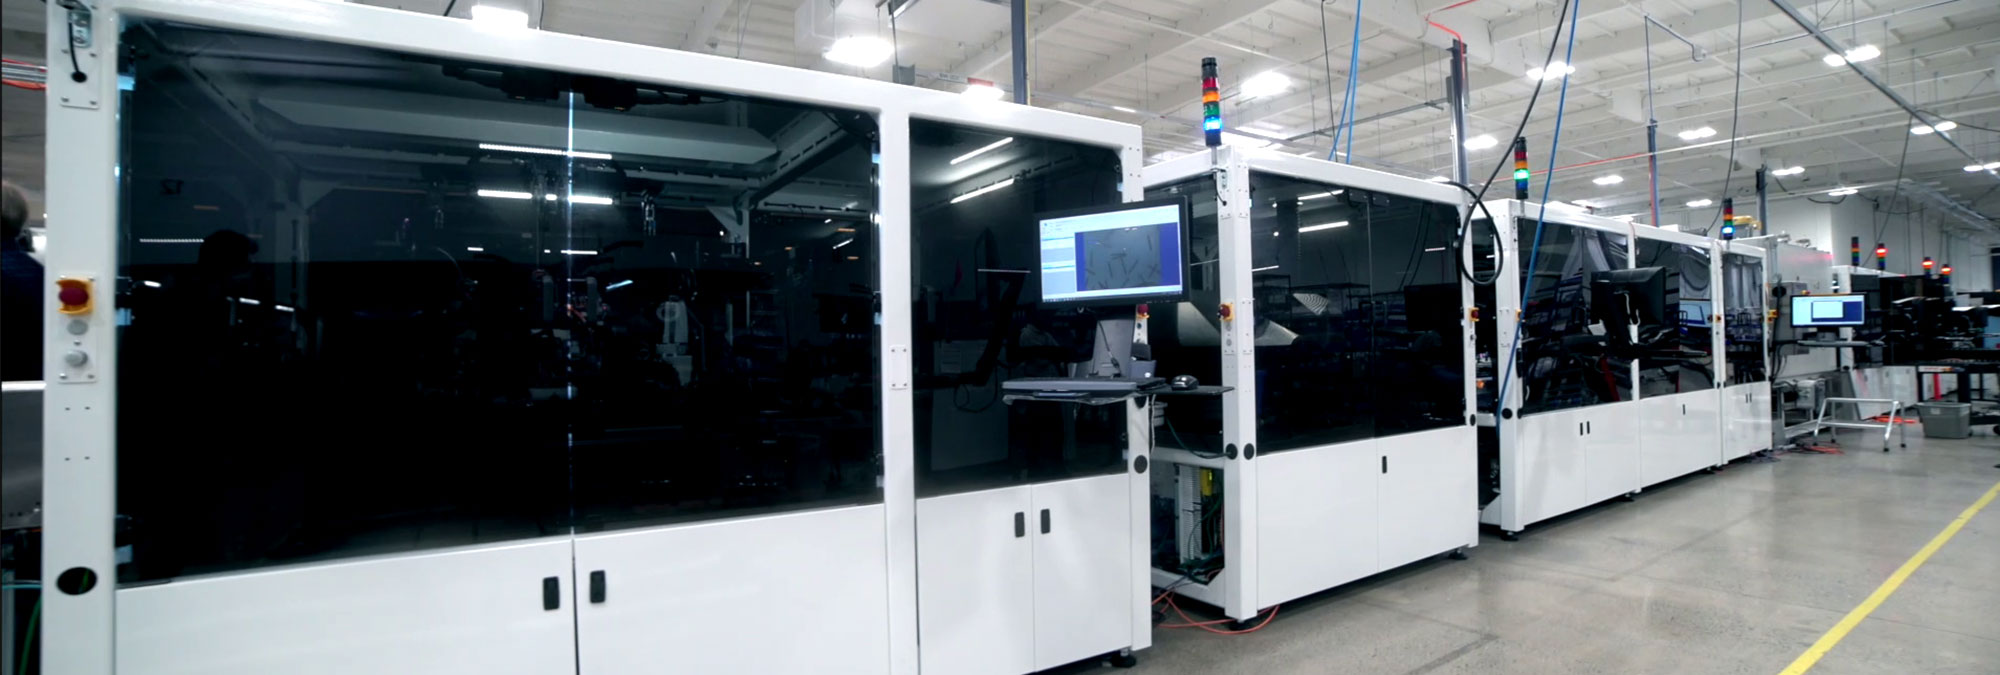
In challenging manufacturing environments, 3 key factors influence the long-term performance of automated metrology systems installed in uncontrolled environments.
Developing a metrology solution that consistently meets demanding production rates, yields and uptime is not something that happens by accident. Building a solid foundation for conducting precision inline inspection for high volume production applications requires 3 factors: adjustability, calibration and environmental monitoring.

Safe Adjustability
Many automation integrators use off the shelf sensors and sensor mounts that are capable when they are shipped and installed. However, when a machine technician adjusts a poorly functioning bracket, the system may not easily recalibrate or requalify, resulting in costly downtime.
When building metrology platforms for long-term process stability, inspection systems should have standard features for adjustability, including:
- Tool safe locks for all instrumentation adjustments.
- Defined adjustability scheme for all metrology and part degrees of freedom in the tool.
- Defined adjustability range and sensitivity for all axes (with sensitivity at the minimum possible setting, typically in microns).
- Custom instrument kinematic mounts for repeatable removal and replacement when needed with compromising accuracy.
For hard datum or master instruments, adding machine alignment features to metrology platform parts ensures that during disassembly and reassembly the instrument is placed precisely every time.
It is important to recognize that even metrology machines can have too much adjustability. Having a system that is under-constrained can cause just as many issues during startup debug as having a system with not enough freedom. Inspection systems need sensible instrumentation and part fixturing datum schemes to enable long-term process capability.
Ready to begin?
Custom Calibration Solutions
To ensure long term process reliability and prevention of drift, setup and validation of all machine instrumentation can be done using “golden parts.” These custom facsimiles of parts or handling pallets provide reference standards and gauges, including:
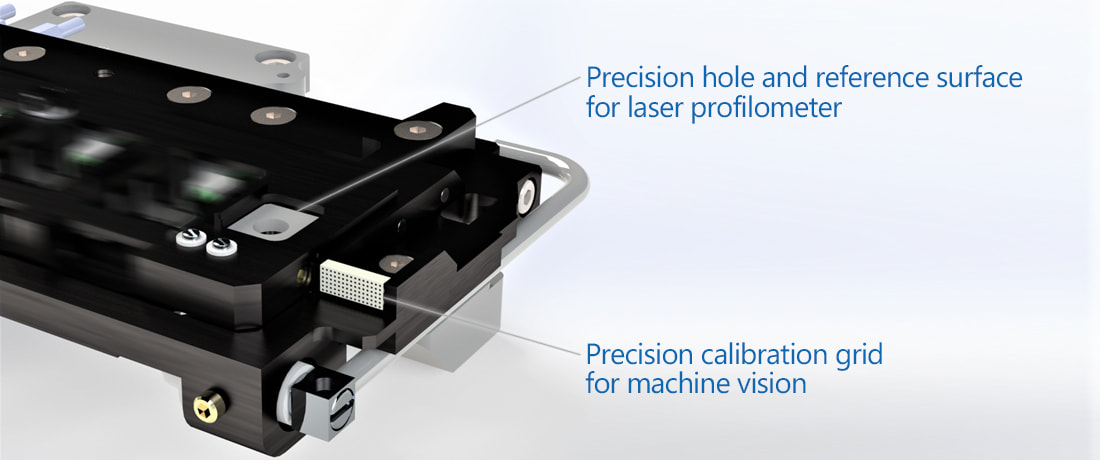
- Calibration grids for camera scaling, distortion mapping and focus.
- Precision ground step blocks for displacement or thickness measurement calibration.
- Precision cut gauge holes for profilometer calibration.
- 2-3 axis active alignment via crossed fiber optic lasers for gantries and end of arm tools.
- Robot teach point fixtures permanently installed in the machine.

For example, on the DWFritz AMP 3100, reference standards and integrated machine vision and laser profilometer calibration are built into the metrology nest. The system validates the performance of the metrology instrumentation using known references for each pass through the metrology zone, ensuring confidence that the machine does not drift over time.
Active Environmental Monitoring
In traditional metrology, many measurements are performed in a quality lab under certain temperature, humidity and lighting conditions. However, the automated metrology process often eliminates the need for a dedicated quality lab. These robust systems can be used inline or nearline in uncontrolled manufacturing environments.
Automated metrology systems typically integrate temperature and humidity logging sensors into inspection systems, initiating a fault code if predetermined limits are exceeded. Other environmental options such as active vibration monitoring and logging, or custom air blow-off of instrumentation in dusty environments allows automated systems to be installed right on the production floor.
The ultimate goal of automated metrology platforms is meeting requirements for gauge capability and machine uptime while performing millions of simultaneous micron level measurements in 24/7 production environments.
