
A flexible metrology system for processing complex geometries in just a fraction of time versus traditional technologies.
About ZeroTouch® Flexible Metrology System
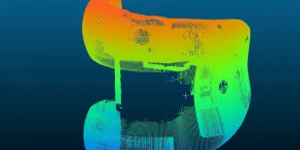
A high-speed, non-contact metrology and inspection platform, the ZeroTouch® Flexible Metrology System rapidly captures millions of data points to create a high-precision 3D point cloud, enabling rapid measurement of complex part geometries and precise inspection of most intricate parts with low GR&R.
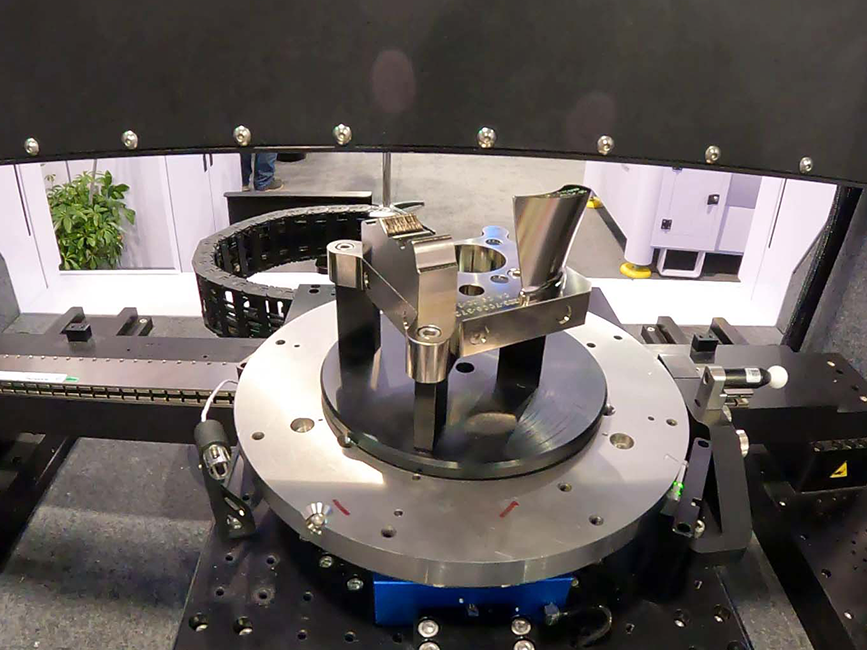
Improved Accuracy
ZeroTouch® improves measurement quality using a unique 5-axis architecture and best-in-class sensors.
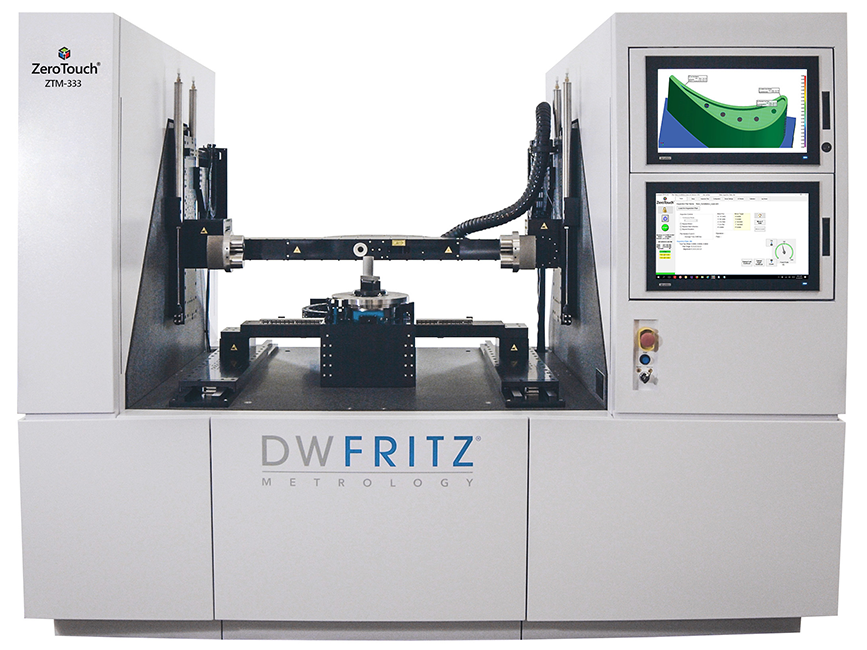
Increase Throughput
ZeroTouch® increases production throughput by capturing complex dimensional measurements in minutes.
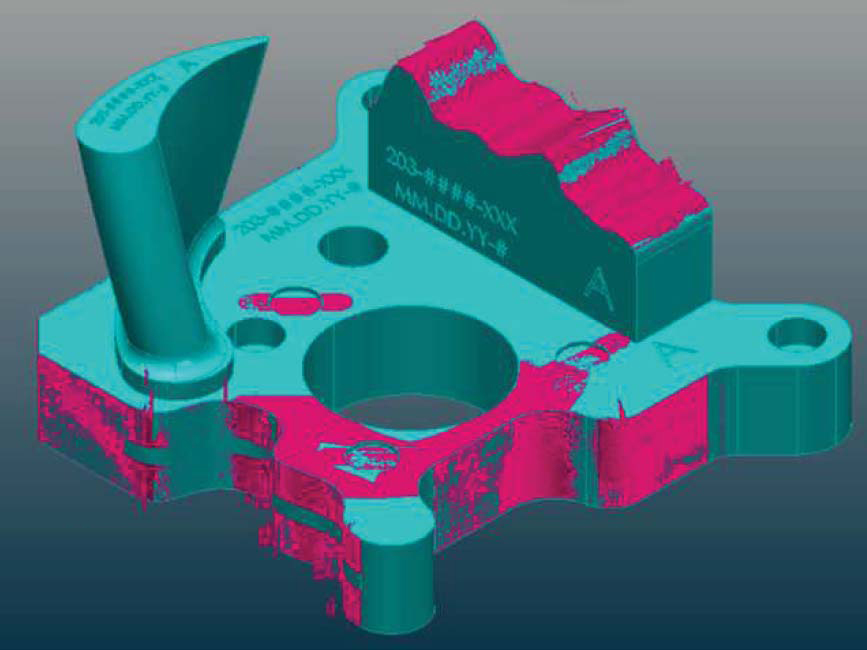
Advances Production
ZeroTouch® advances production capabilities by rapidly performing multiple simultaneous measurements.
Ready To Get Started?
Features & Benefits
- Rapid 3D micron-level precision point cloud generation
- High repeatability
- GD&T measurements of complex geometries such as chamfers, knife edges, undercuts, and bores
- Configurable metrology sensor bridge, including laser, confocal sensors, and high-resolution cameras with multi-spectral lighting
- Advanced analytics integration with application specific tools
- Simple part inspection programming
- Rapid identification of production defects enables upstream process optimization
- Ease of part fixturing reduces setup time per part
Minimize Tolerance Stack Error
ZeroTouch®’s unique planar air bearing design minimizes tolerance stack error. By providing extremely smooth, high-speed motion of precision stages, this near-zero friction design ensures more consistent performance, minimizing mechanical wear and improving GR&R.
Advanced Analytics Integration
Through industry proven and recognized analytics software, parts can be analyzed by comparing point cloud scans with nominal CAD models and GD&T controls. Statistical process control (SPC) data can drive warnings to reduce variability and scrap.
Graphical Part Inspection Planning
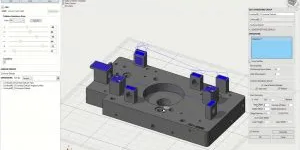
Graphical, menu-driven part inspection planning tools eliminate the need for specialized programming. Plans can be launched easily by recalling the program from MES, or via an optional barcode reader.
Specifications
| ISO 10360 MPE | 2μm+L/100 |
| Electrical Service | 208/230/240VAC, 50/60Hz 30A, 1-PHASE + GND |
| Part Volume (max) | 300 x 300 x 300 mm (L x W x H) |
| Scanning Travel | 380 x 380 x 380 mm (X-Y-Z) |
| Part Weight (max) | 10 kg, CG within 100 mm of Theta rotation axis |
| Form Measurements | Straightness, Flatness, Circularity, Cylindricity |
| Orientation Measurements | Parallelism, Perpendicularity, Angularity |
| Location Measurements | Position, Profile, Concentricity, Symmetry |
| System Dimensions (W x D x H) | 2,400 mm (95 in) x 1,600 mm (63 in) x 1,900 mm (75 in) |
| System Weight | 3,550 kg (7,825 lbs) |
| Temperature (Transport/Storage) | 2°C (3.6°F) per hour |
| Temperature (Operational) | 18°C (64.4°F) to 22°C (71.6°F) |
| Rate of Change | 2°C (3.6°F) per hour |
| Required Operating Pressure | 0.59MPa (85 psi) |
| Maximum Machine Inlet Pressure | 0.66MPa (95 psi) |
| Consumption | 280 l/min (9.9 SCFM), @0.59MPa (85 psi) |
| Clean Dr Air (CDA) Requirement (ISO 8573-1) | ISO Class 3-3-3 |
| With Optional Conditioning Module | ISO Class 3-3-3 |
| OS | Windows |
| System Software | DWF ZeroTouch® application |
| Analysis Software | Metrolog X4, PolyWorks Inspector |
| Reference Model Data Formats | STP, IGS |
Industries and Applications

Aerospace
Key Applications : Turbine & Compressor blades, Gears, Shrouds, Impellers, Diffusers, Vanes/Nozzles, and Blisks
Automotive & e-Mobility
Key Applications : Powertrain components, Gears & Sprockets, Clutches, Pistons, Bearings, Brake components, Valve bodies, and Gasket surfaces

Medical Devices
Key Applications : Dental implants, Medical implants (ocular, spinal, orthopedic), Surgical & General instruments, Prosthesis, and Distractors (mandibular, cranial, osteo)

Precision Manufacturing
Key Applications : Precision tools, die molds, & bearings, Parts & assemblies with electropolished surfaces, Machined parts with complex geometries, and Parts with sealing surfaces
