
A robust, production-ready, non-contact, in-line or near-line metrology platform that drastically increases throughput.
ZeroTouch® Rotational Metrology System
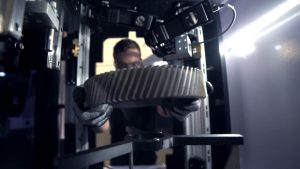
The ZeroTouch® Rotational Metrology System is a precise, high-speed, in-line or near-line metrology, and inspection system that measures critical dimensions of rotors, stators, brake discs, and other cylindrical parts, providing manufacturers with real-time metrology, and inspection data to optimize production processes, detect defects, and improve ROI.
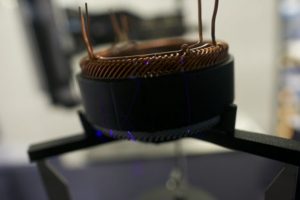
Improved Accuracy
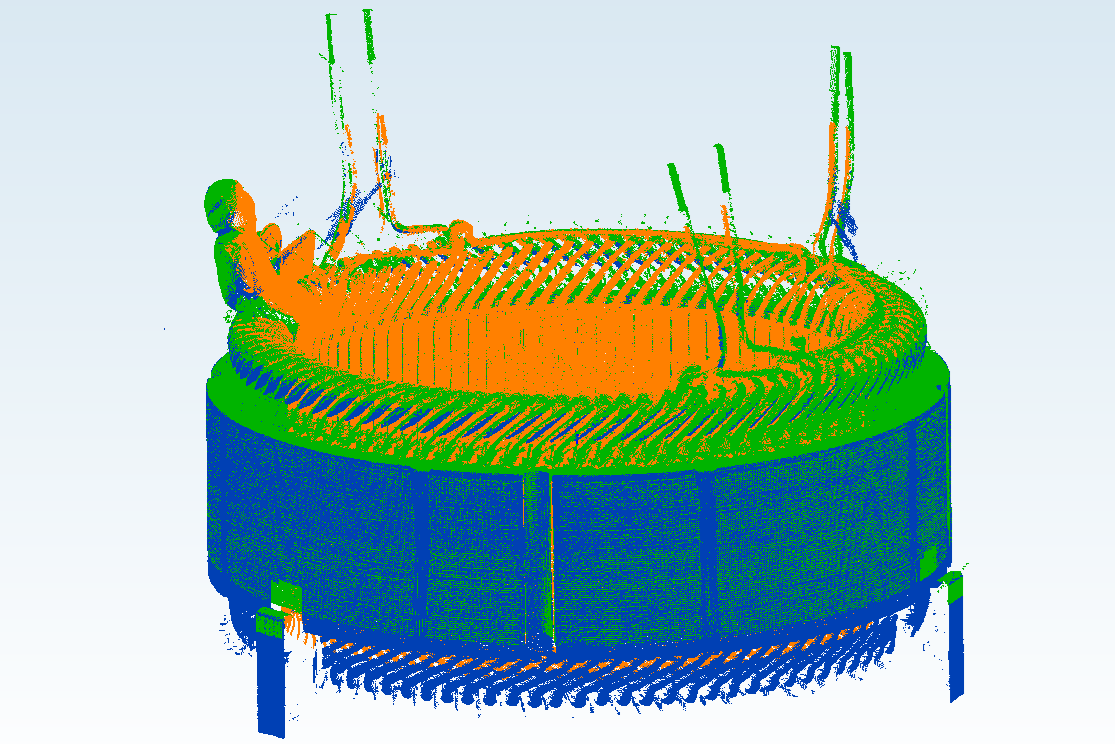
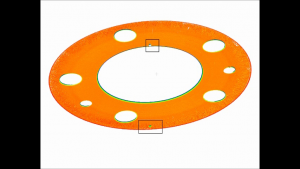
ZeroTouch® improves quality by moving parts through multiple sensors to generate a 3D point cloud.
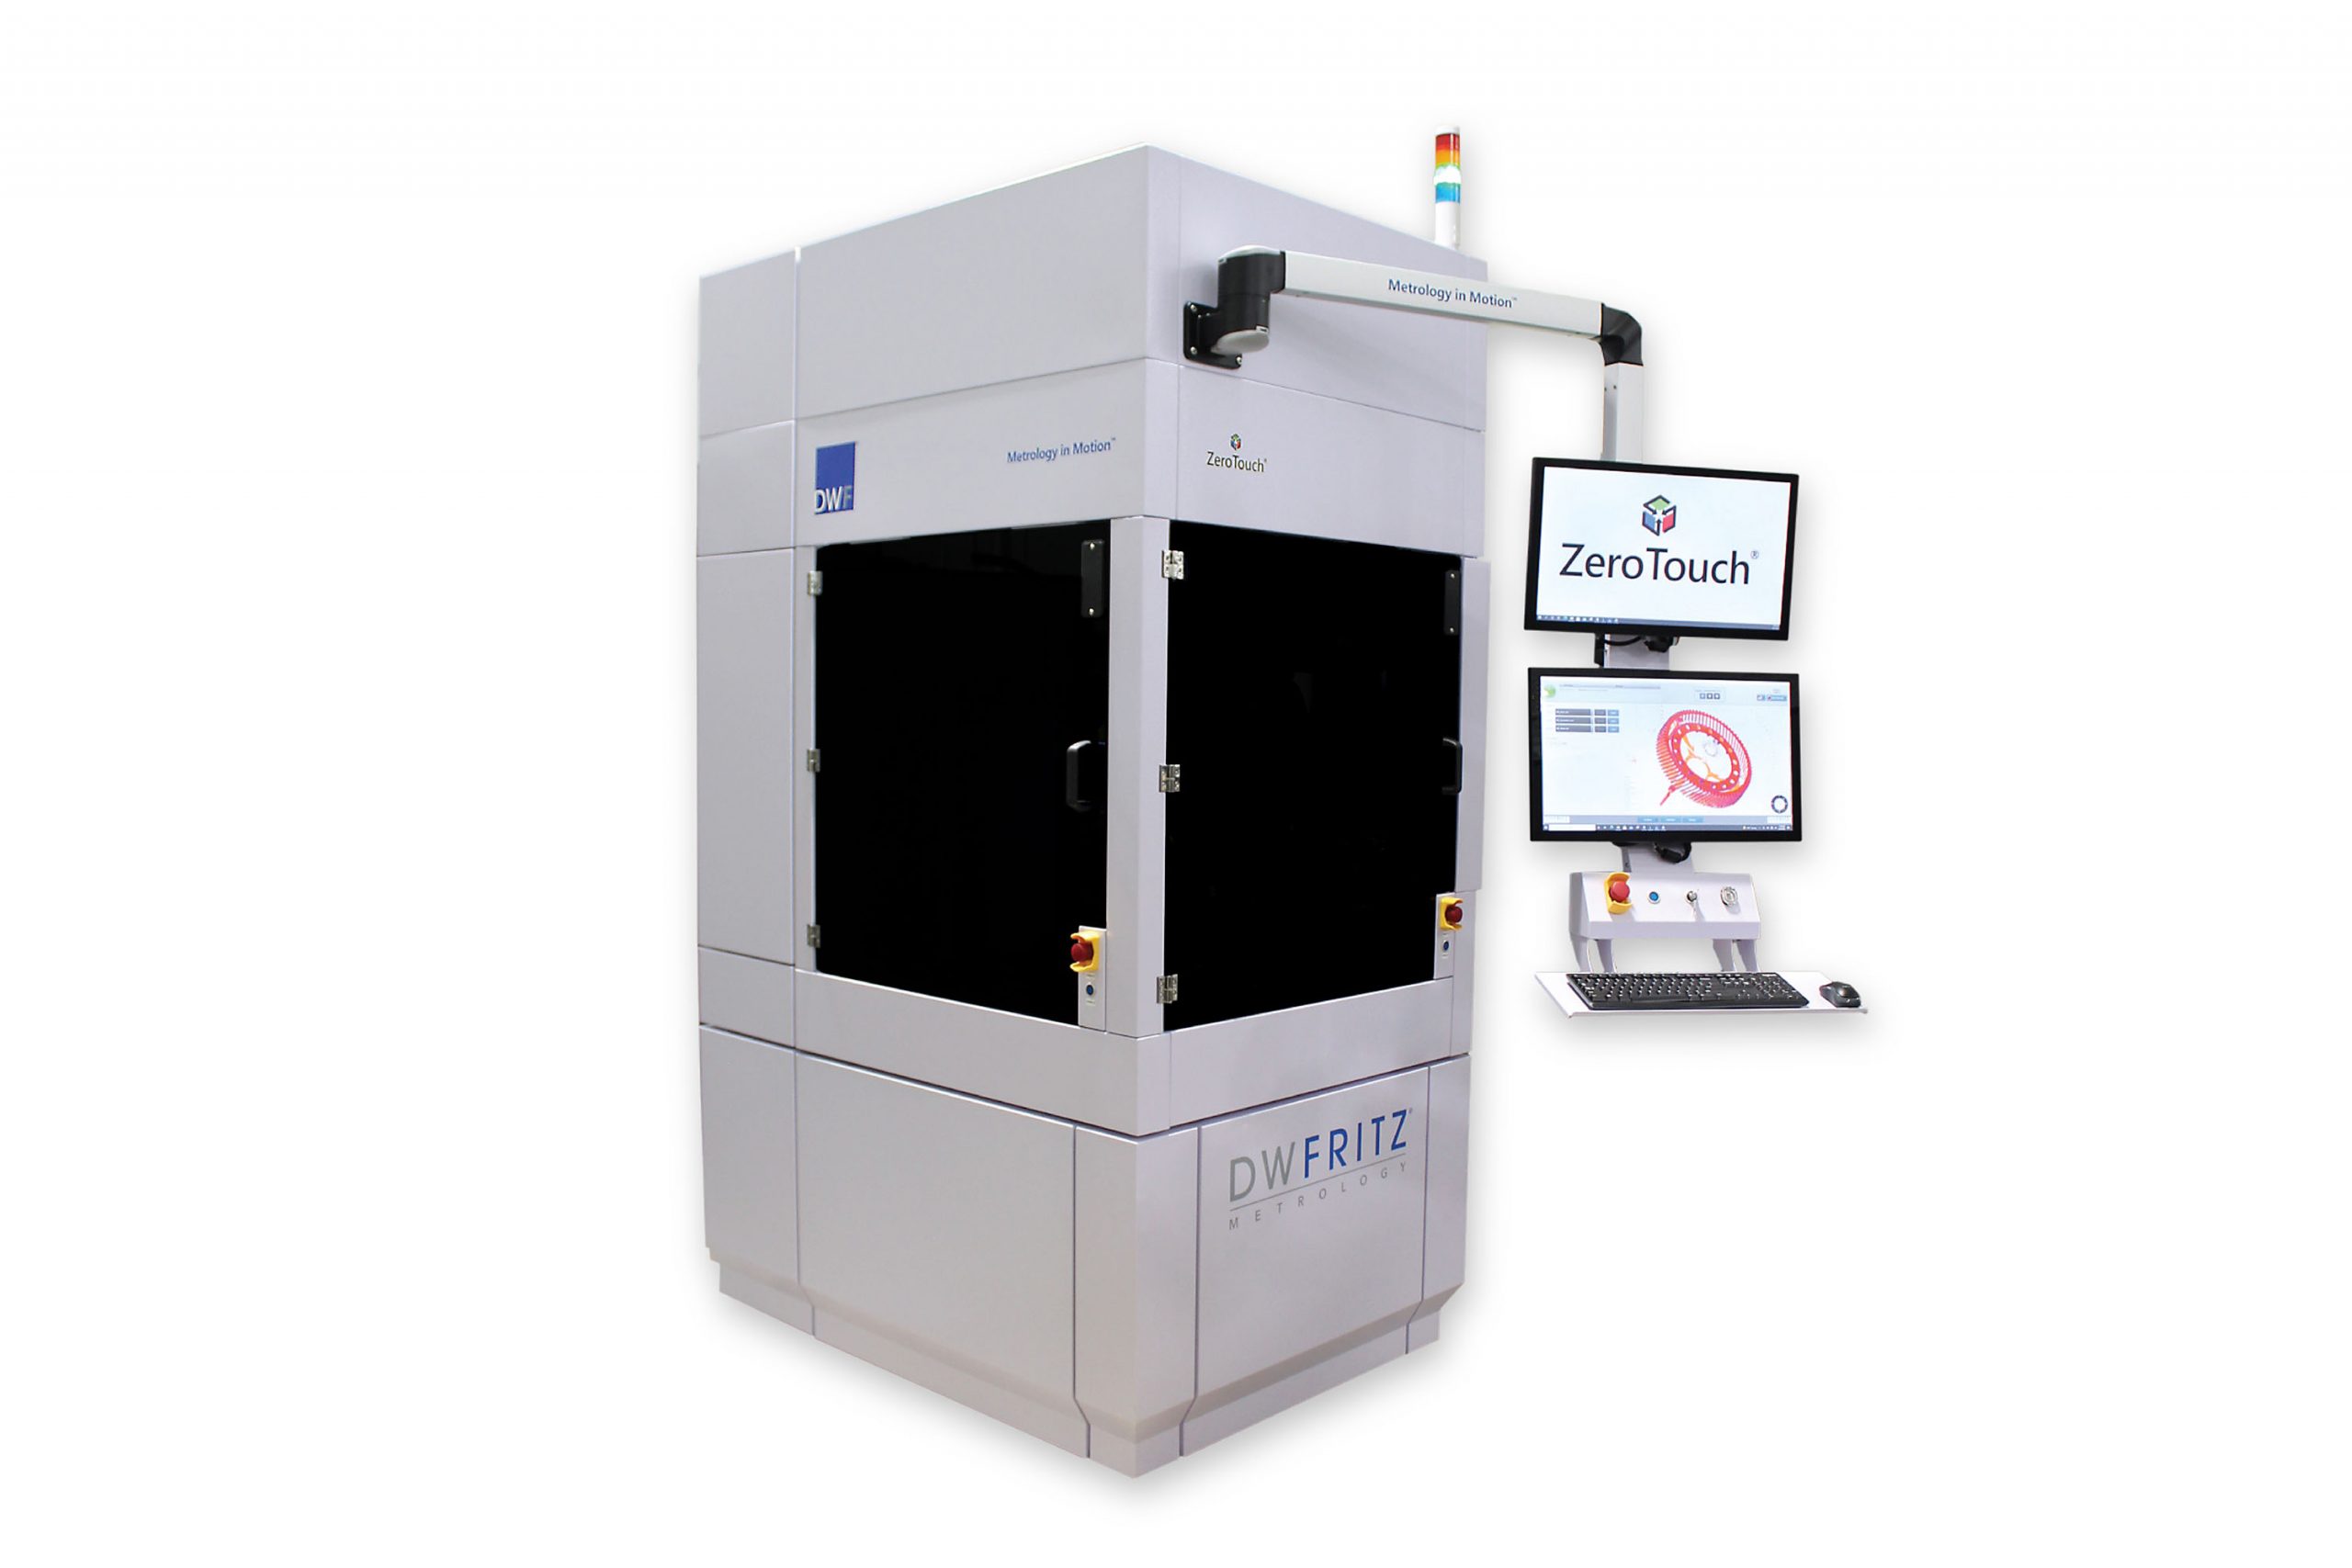
Increase Throughput
ZeroTouch® increases production throughput by capturing millions of data points in just a fraction of time versus traditional technologies.
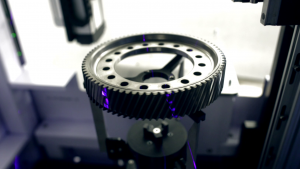
Advances Production
ZeroTouch® advances production capabilities by scanning entire part surfaces without requiring developer coatings.
Ready To Get Started?
Features and Benefits
- Scans different materials and constructs, including hairpin windings, insulators, and laminate stacks
- Capable of inspecting insulating enamel or impregnating resin coatings on hairpins
- Developer coating not required to capture shiny surfaces
- Configurable for both in-line or near-line use
- Inspects single laminate, stacked laminate core, and final assembly with hairpin (stator), shaft (rotor), and other round/cylindrical parts
- System functions in manual or fully automatic mode
- Allows for 100% inspection of parts leading to process and quality improvements
- Inspects both rotors and stators in the same system
- Supports a wide range of dimensions and weights
- Small footprint allows for optimal usage of production space
High-speed Inspection and Analysis
Using multiple advanced sensors and precision fixturing, ZeroTouch® rapidly measures the entire part surface, executing entire part inspection plans in just a few minutes versus traditional tactile methods, which can require several hours.
Rapid Feature Identification
By collecting millions of data points across the part surface, ZeroTouch® generates a high-density, micron-level point cloud for comparison to a CAD image where analysis software can rapidly measure features, perform dimensional analysis, and identify surface defects.
Automatic Part Loading and Unloading
Configurable for manual and automatic part load and unload using a robot, conveyor, or cart feed, ZeroTouch® can be installed in the immediate vicinity of the production line to improve production throughputs.
Specifications
| Measurable Envelope Max. (Diameter x Length) | 425 mm x 300 mm (16.7 in x 11.8 in) |
| Part Outer Diameter Max. | 425 mm (16.7 in) |
| Part Length Max. | 375 mm (14.8 in) |
| Payload Weight Max. | 30 kg (66 lbs) |
| Inner Diameter (typical) | 120 mm (4.7 in) |
| Dimensions (W x D x H) | 1,150 mm x 1,550 mm x 2,805 mm (42.25 in x 61.0 in x 110.5 in) |
| Weight | 2,000 kg (4,400 lbs) |
| Temperature (Transport/Storage) | 15˚C (59˚F) to 40˚C (104˚F) |
| Temperature (Operational) | 18˚C (64.4˚F) to 22˚C (71.6˚F) |
| HMI Operating System | Windows |
| System Control | ZeroTouch® Orchestrator |
| Metrology Analysis | ZeroTouch® Analysis Package |
Industries and Applications

Aerospace
Key Applications : Gears, Bearings.
Automotive & e-Mobility
Key Applications : Shaft and Spline, Clutch and Flywheel, Motor Stator and Rotor.

Precision Manufacturing
Key Applications : Precision Tools, Die Molds, Bearings, Parts & Assemblies with Electropolished Surfaces.
