
A non-contact, 3D inspection system for near-line or in-line 100% tooth inspection and metrology of gears.
ZeroTouch® Gear Metrology System
The Gear Metrology System is a non-contact gear inspection system that generates a 3D point cloud, providing manufacturers with real-time metrology and inspection data to optimize production processes, and improve ROI.
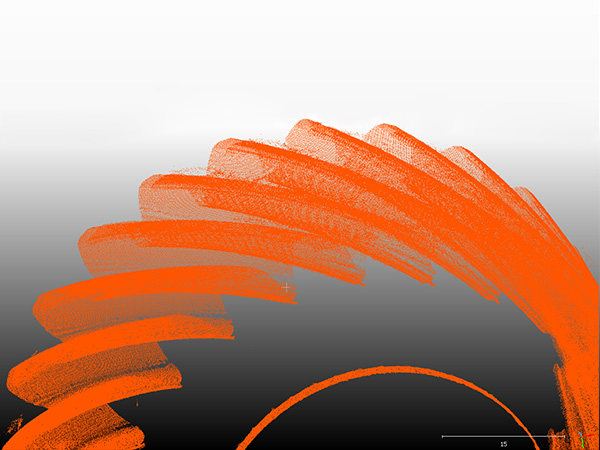
Improved Accuracy
ZeroTouch® uses multiple sensors to generate a high-density, 3D point cloud to improve quality.
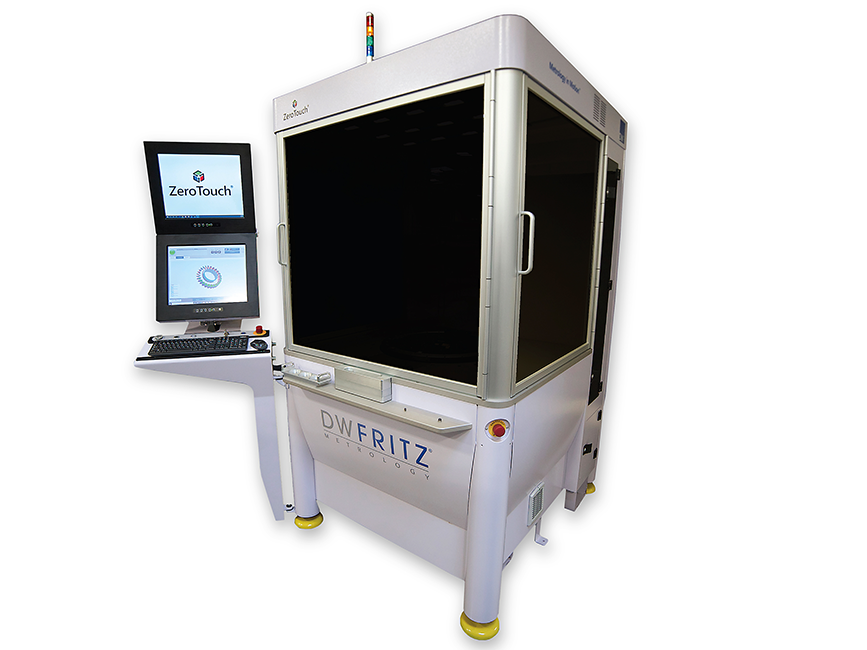
Increase Throughput
ZeroTouch® increases production throughput by executing inspection plans in seconds versus minutes.
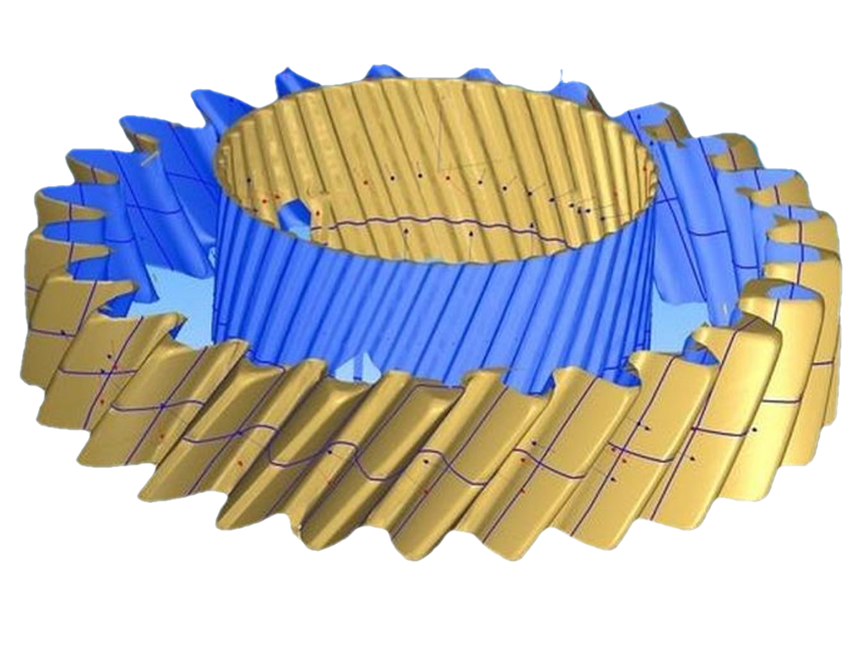
Advances Production
ZeroTouch® advances production capabilities by performing in-line inspection of the entire part surface.
Ready To Get Started?
Features & Benefits
- 100% inspection of gear and teeth geometries with cycle times from 30 seconds per part
- Installed in the immediate vicinity of the production line
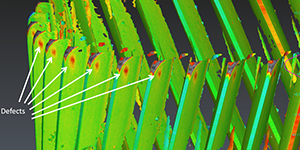
- Fast identification of production defects, enabling adjustment of upstream processes
- 3D inspection of complex geometries using multiple sensors
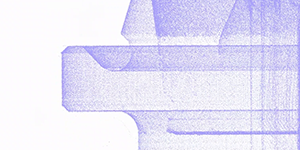
- Captures dense precision point cloud data with speed and accuracy
- Advanced analytics integration with application-specific tools
- Profile, helix, pitch, and runout measurements
- Surface defect detection and characterization capabilities
- Multiple laser line triangulation metrology sensors
- Real-time data capture and storage for SPC analysis
Accuracy and Repeatability
ZeroTouch® achieves reliable and repeatable measurement by 3D referencing over the complete reference surfaces. Collecting millions of data points minimizes surface local defects or roughness, making the machine extremely repeatable even when measuring recently milled or cut gears.
Automatic Part Loading and Unloading
Configurable for manual and automatic part load and unload, ZeroTouch® can be installed in the immediate vicinity of the production line to improve production throughputs.
Upstream Process Improvements
Performing 100% inspection of gears and teeth geometries with measurement cycle times from 30 seconds per part, ZeroTouch® optimizes production processes by detecting and avoiding production deviation through real time measurements, allowing adjustment of upstream processes to reduce waste.
Specifications
| External Ring | 300 mm max. diameter |
| Part Height | Up to 40 mm |
| Typical Cycle Time | ~30 seconds |
| Tolerances | 5-10 μm |
| Surface Defect Detection | 50µm (min. defect size) |
| Profile evaluations | (Fα-fHα-ffα-Cα) |
| Helix evaluations | (Fβ-fHβ-ffβ-Cβ) |
| Pitch and roudness evaluations | (Fp-fp-Fr) |
| Diameter over balls | (Mdk) |
| System Dimension | 2,000 x 1,000 x 2,000 mm (W x D x H) |
| System Weight | 1,500 kg (3,300 lbs) |
Industries and Applications

Aerospace
Key Applications : Gears
Automotive & e-Mobility
Key Applications : Gears and Sprockets

Precision Manufacturing
Key Applications : Gears
